Table of Contents
There is a topic that keeps on coming up regarding user interfaces, more specifically regarding Graphical user interface; how to do UI testing? Actually, many people don’t even do it, but they should definitely be doing some GUI testing. So I decided to write an article that could serve of a sort of guide where you will get a deeper understanding of GUI and UI testing.
What is User Interface or UI?
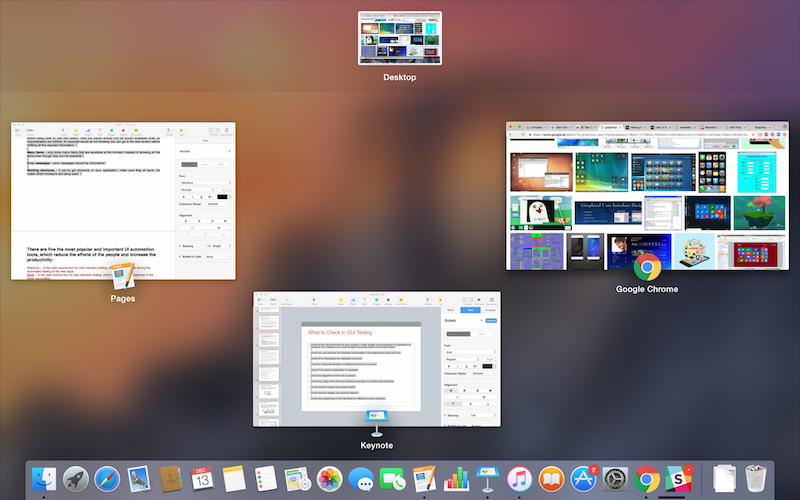
In computer science we often talk about the user interface. As its name says it, it refers to the interface that a program “shows” to the user, the means by which the user will interact with a computer system. This could include the screen, the keyboard the mouse and the appearance of the desktop itself.
Graphical user interface vs. command line interface
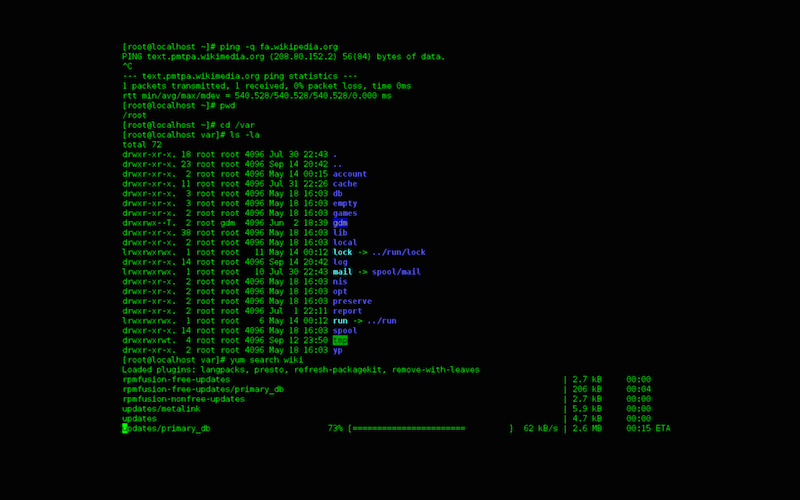
It’s important to know that there are two types of interfaces; the Command Line Interface (CLI) & the Graphical User Interface (GUI). A CLI is when you type in a text command into the terminal and that the computer responds to that command, while a GUI is when you interact with the computer by using a mouse or a keyboard, it’s an interaction where you manipulate visual elements instead of using text.


The fact is that today, almost all of us need to, or choose to interact with computers (may it be for personal or professional use). This implies that almost all of us interact with a graphical user interface. But looking back at the 70’s, that was a complete different story!
The typical user will start by checking our the design of the app, how it feels and looks and how easy it will be for him to navigate through it. If the interface is not appealing and that the user feels like he won’t really be comfortable, this won’t encourage him to continue using the software, platform, app. GUI is extremely important and UI testing is even more important, because having worked on the graphical user interface but not testing it can be equal to a lost of time.
UI testing should therefore definetely be implemented in the beginning of the development to reduce risks at the end of the cycle.
What is UI testing?
Graphical User Interface testing is mainly about ensuring that the UI functions in the right, that an app follows its written specifications and that defects are identified. Other than that, we check that the design elements are good. This involves checking the screens with the controls like menu bars, toolbars, colours, fonts, sizes, icons, content, buttons, etc. How do they respond to user input?
To do UI testing, we usually use various test cases (set of conditions that will help the tester determine if a system is working as its supposed to) and there are 2 ways of conducting it; manually (with a human software tester) or automatically (with the use of a software program).
Manual testing
One of the approaches to UI testing is manual testing, which implies having a human tester that will perform a set of operations and basically check manually that the app is behaving in the right way and the graphical screens are in conformance with the requirements. Although this approach has a few advantages, it has some problems such as the fact that it can be time-consuming, it requires a lot of efforts and the quality really depends on the capabilities of the tester.
Capture & replay testing
We can also do the GUI testing by using some automation tools that were developed specifically for that. The idea is to run the app and capture/record the interaction that has to happen between the user and the app itself (mouse movements, etc.). We then repeat that for all the actions that users should have with the app and during the replay, those user actions that were saved will be reproduced and compared with what is expected.
Model based testing
An approach that we found to be much more efficient is the model based testing. This is mainly about building a model (a graphical description of the behaviour of the system) in order to get a deeper understanding and to generate more efficient test cases. After determining the inputs and calculating the expected outputs, you run the tests. You end up by comparing the results with what was expected. This approach is great because it helps a lot when it comes to determining states of the GUI that are not wanted and the level of automation is much higher.
Some test cases to consider in UI testing
When you are testing the graphical user interface, there are many test cases to take into consideration, and those are not the only ones of course but it’s a good checklist!
Font type & size – make sure that the font is the same on all screens, or at least the same family! Keep it professional. Same for the font sizes (headers, body text, etc.)
Colours – don’t be inconsistent. Stay with the same colours and follow a style guide. You can’t be using 4 different variations of orange (unless it’s really part of the design). Look at hyperlinks, background, buttons, body text, etc.
Icon styles – you shouldn’t go for 5 different styles of icons, if you choose “flat” icons, stay with flat icons.
Visual inconsistencies – consistency is key, always. The look & feel should be the same throughout the app. and other than the look & feel, abbreviations also have to be consistent.
Dialog box consistency – again with consistency. If you user “exit” in some dialog boxes you should use “leave” on others.
Required fields – it is always better to specify it that a field is required by adding to it an asterisk and by providing the user with a sort of warning if the data is not given.
Data type errors – always ensure that the right type of data is given (dates, ages, weight, etc.).
Same document, multiple opens – when a document is opened/downloaded more than once, instead of overwriting another one, you can re-name it by adding a number to the file name.
Field widths – obviously, if there is a certain amount of characters permitted and that the data entered shouldn’t exceeded a specific number, you should make it clear.
Onscreen instructions – screens (that are not clear) should contain some sort of onscreen instructions that will help/guide the user. Keep it brief and straight to the point!
Progress bars – when waiting for results, progress bars are great so that users understand that they have to wait for something and that the process is still on.
Confirm savings – if you can do changes to the app without needing to save, it’s still always nice to make sure that the user doesn’t want to save before moving to another screen.
Confirm delete – as we confirm savings, it’s always good to confirm that the user wants to delete an item. I am sure it has happened to many of you (as it did to me) to delete something on a page without really wanting to do so!
Drop down list type ahead – when you have 100s of options to choose of, it’s much nicer to have the option to type ahead than to have to go through the whole list.
Invalid options – sometimes, for some specific options, you need to validate other characteristics before being able to use that option. Well this option should inly be shown available when all characteristics are fulfilled. An example would be not showing you can go to the next screen before fulfilling all the required information.
Menu items – only show menu items that are available at the moment, instead of showing all the items even though they are not available.
Error messages – error messages should be informative
Working shortcuts – if you’ve got shortcuts on your application, make sure they all work, not matter which browsers are being used.
Earlier I mentioned the three main ways of doing UI testing, but we didn’t really talk about the automation tools that will make this possible and that will definitely make your life easier. So here are a few we recommend:
5 UI testing tools we like
Watir – it’s an open source Ruby library that interacts with a browser the same way people do (clicking links, filling out forms and validating text), it has a simple class for non-tech users! It’s a multi browser support and has a rich API.
Sahi – it has a good capture and replay utility and is quite easy to learn. In fact it has an all in one solution (capture, replay, debug, trouble shoot, log management, etc.). It uses JavaScript as the scripting language. Another nice thing about Sahi is that is has a very good development community, an active forum and they have frequent releases.
Sikilu – it automates anything you see on the screen. It uses image recognition to identify and control GUI components and it is useful when there is no easy access to a GUI’s internal or source code. It uses Python as a scripting language and is used mainly on Windows, Mac OS X and Linux.
AutoIT – is a freeware automation language for Microsoft Windows. It automates tasks in a way that is not possible with other languages. Unlike other tools, AutoIt provides real-time mouse movements to select an element. It’s very small and self-contained and will run on all versions of Windows.
TestComplete – with TestComplete you get the chance to choose between JavaScript, Python, VBScript, JScript, DelphiScript, C++Script, and C#Script to create tests. It is quite easy to understand and makes it easy to automate tests on windows desktop, web apps and mobile devices.
Why should you do some UI testing automation?
- You will are able to find regression errors.
- Test automation will give guarantee you consistency.
- Reduce the margin of errors.
- Increase efficiency through automation. Manual GUI testing can be very long and un-efficient and those resources/testers should be working on other things instead of running tests a robot can do.
- You use less resources, you do it faster. So yes, it’s as easy as that, you are saving time, resources and money.
- Upgrading. Keep in mind that with every new test and every new bug discovered, the tool upgrades the information and you will always keep up to date.
- Get a better QA ticket quality.


